Okie dokie, without further ado:
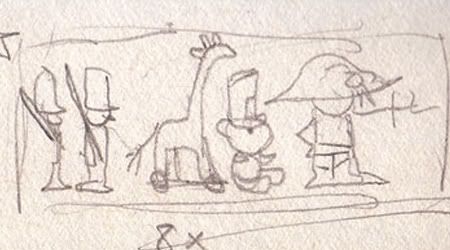
Step 1: The classic thumbnail sketch
I had the basic idea in my head so it only took the one to give me the direction I needed to start.
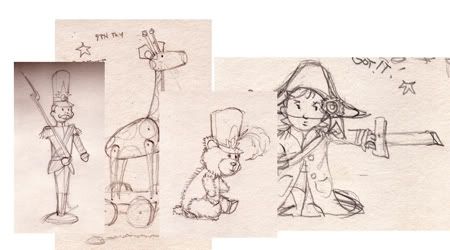
Step 2: Setting up the Photoshop File
After a series of rough sketches, I scanned the ones (at 300 dpi, 200%) I liked and patched them together on individual layers (labeling your layers is highly recommended) in Photoshop CS4 loosely place them according to my thumbnail.
Step 3: Clean Up
After some resizing and jockeying object position, I tighten up my line work first with the “Levels” white eyedropper to remove the unwanted paper tone and debris. Then proceed with the “Eraser” to clean up the drawings.


